 Need help writing code? You can hire Robots + Big Data to write Arduino software for your project! Click here to get started...
Detect human presence and touch from behind several millimeters of material, or detect change in water levels from the outside of a plastic container. This library is meant to help determine change in relative capacitance for the reasons above, and not for calculating exact capacitance.
Relative capacitance is found by measuring how long it takes for an Arduino send-pin to charge a receive-pin to HIGH (in microseconds). Changes in the electrical field around a sensor connected to the receive pin (such as a human passing by, or water filling up, or a motor turning on) have a measurable impact on the amount of time it takes to charge the receive pin.
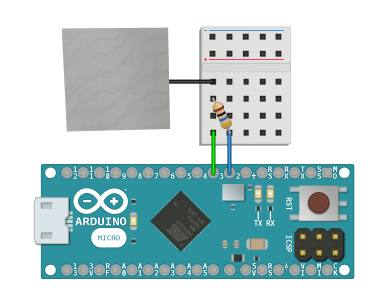
Many of these charge and discharge readings are taken, then averaged within the library to reduce variability and give a more clear answer of what the sensor is reading. This is done without delay so it only has a small impact on the main loop() performance. See the Example below for help wiring and programming the Arduino with this library.
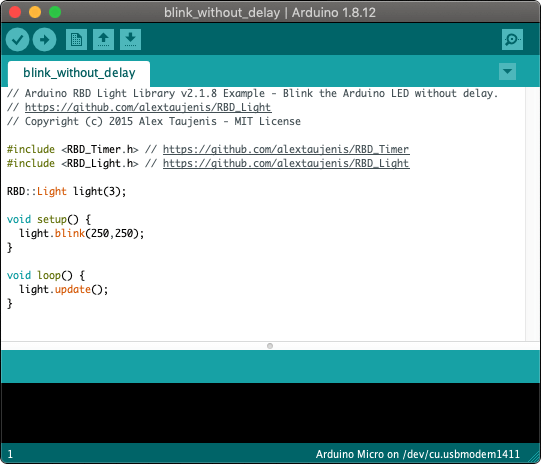
#include <RBD_Capacitance.h>

RBD::Capacitance cap_sensor(2, 3); // send, receive pins

void setup() {
  Serial.begin(115200);
}

void loop() {
  cap_sensor.update();

  if(cap_sensor.onChange()) {
    Serial.println(cap_sensor.getValue());
  }
}
Sensitivity is how far away the sensor can detect things, or how much resolution you have to recognize change in the sensor readings.
Variability is how wildly the sensor readings fluctuate. This library helps adjust the variability by taking a moving average of many readings over time. This is done without delay so it has little impact on the main loop() performance.
You must continuously call update() inside of loop() in order to use theReal-Time methods tagged below.
RBD::Capacitance

Create a new capacitance sensor and pass in the Arduino pin numbers for the send and receive pins.
RBD::Capacitance cap_sensor(2 ,3);

void setup() {
  ...
}
Pass in an integer to change the number of readings taken to calculate a moving average getValue(). This can be called inside of setup() or also safely at runtime inside of loop().
void setup() {
  cap_sensor.setSampleSize(1000);
}
This must be call continuously from within the loop() to move the library along in real-time.
void loop() {
  cap_sensor.update();
}
Begin taking many readings and start adding up the moving average for getValue().
void setup() {
  cap_sensor.start();
}

void loop() {
  cap_sensor.update();
}
Returns true if all readings have been taken and a moving average getValue() is ready. You must first call start() to begin the sampling process.
void setup() {
  cap_sensor.start();
}

void loop() {
  cap_sensor.update();

  if(cap_sensor.isFinished()) {
    ...
  }
}
Returns an unsigned long of the moving average value for the capacitance reading (microseconds taken to charge the pin). This will only return a value after calling start() and waiting until isFinished() has returned true.
void setup() {
  cap_sensor.start();
}

void loop() {
  cap_sensor.update();

  if(cap_sensor.isFinished()) {
    Serial.println(cap_sensor.getValue());
  }
}
This method will fire a single event and start taking another sensor reading each time the getValue() changes, mimicking the same process of creating a loop by calling start() and isFinished() together, but with a simple syntax and a tighter time loop.
void loop() {
  cap_sensor.update();

  if(cap_sensor.onChange()) {
    // code only runs once per event
    Serial.println(cap_sensor.getValue());
  }
}
Download and install the latest version of the ![]() Arduino IDE.
Arduino IDE.
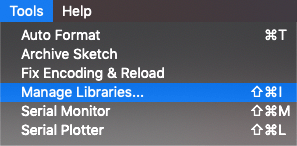
Open the Arduino IDE and click Tools ⇒ Manage Libraries...
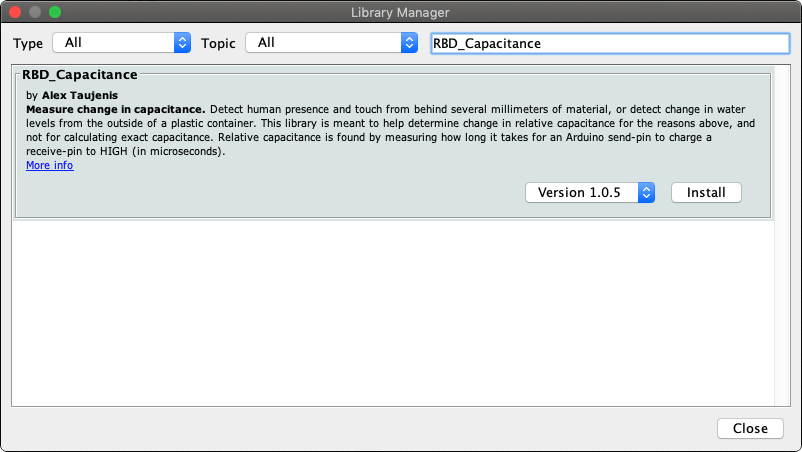
Search for RBD_Capacitance in the Arduino Library Manager and click Install, then click Close.
Click on File ⇒ Examples ⇒ RBD_Capacitance ⇒ example_name in the Arduino IDE to see code examples for this library, or create a new sketch in the Arduino IDE and copy the Example Sketch to get started.